Setting up Haiku in Vultr
Vultr allows one to upload a custom iso on their instances. With this, many new possibilities are open - such as setting up a buildbot, automated testing, benchmarking and more. This task assumes you have a Vultr account and that you are aware that it will charge you for setting up and running an instance.
Preparing a direct ISO link
Vultr doesn’t allow one to upload a custom iso from a local machine. Instead, you need a direct web download link. At the moment, Haiku does not provide these, so you will have to prepare one by yourself. Don’t worry - it’s not difficult. You can use a variety of services like Amazon S3, Dropbox, etc. Please check Vultr’s documentation for more information This guide will show you how to use Dropbox to provide a direct link for Vultr. You will need a Dropbox account for this.
Using Dropbox to serve a Haiku ISO for Vultr
First, download a Haiku anyboot zip of your choice. Both 32 bit and 64 bit work. Unzip it, and upload the ISO file to your Dropbox. After it is done uploading, select it and press share. Near the bottom right-hand side, click “Create link”.
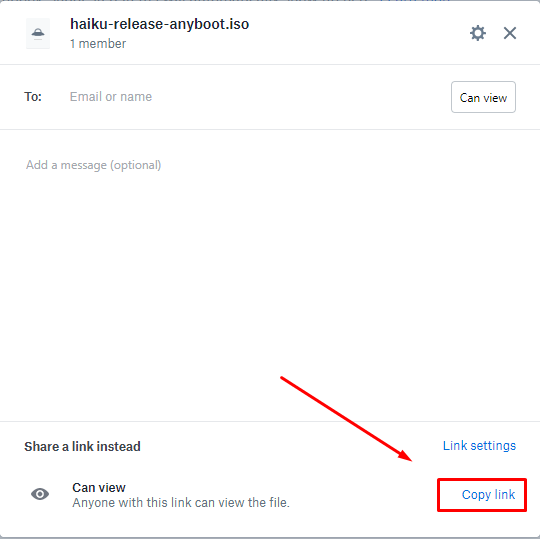
Copy the link that appears. Replace the dropbox.com part of it with dl.dropboxusercontent.com, and remove everything after the final “?”. From example: change “https://www.dropbox.com/s/xxxxxxxxxxxxxxx/haiku-release-anyboot.iso?dl=0" to “https://www.dl.dropboxusercontent.com/s/xxxxxxxxxxxxxxx/haiku-release-anyboot.iso" This is your direct download link. You can now go to Vultr.
Uploading the ISO file to Vultr
Log into your Vultr account and go to “ISOs”, and press “Add ISO”.
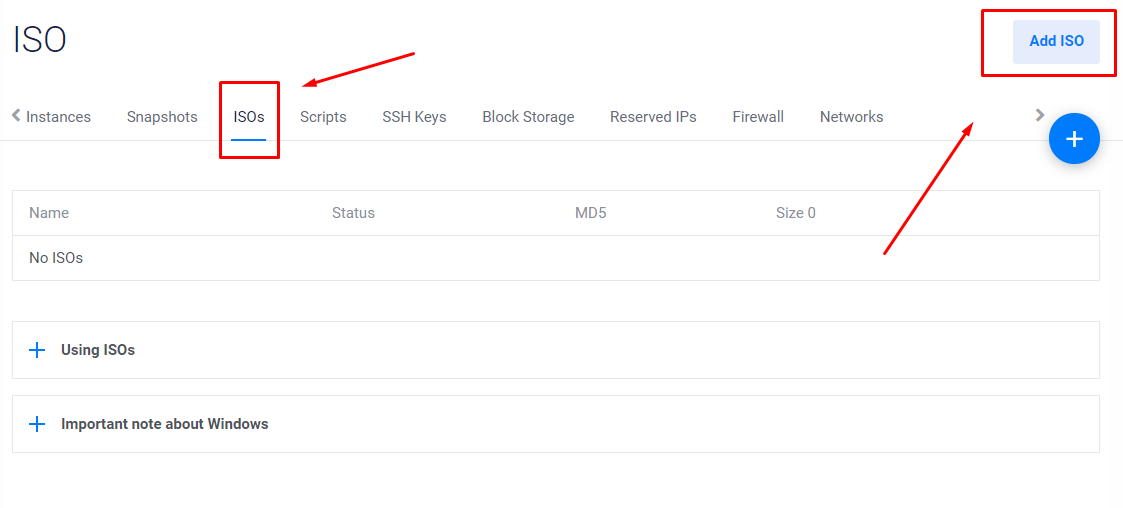 There, paste your direct download link. Vultr will then proceed to upload and iso - wait until that is done.
After it says “Available” under the status, create a new instance. Choose cloud compute, and apart from Server Type, you are free to customize it how you wish.
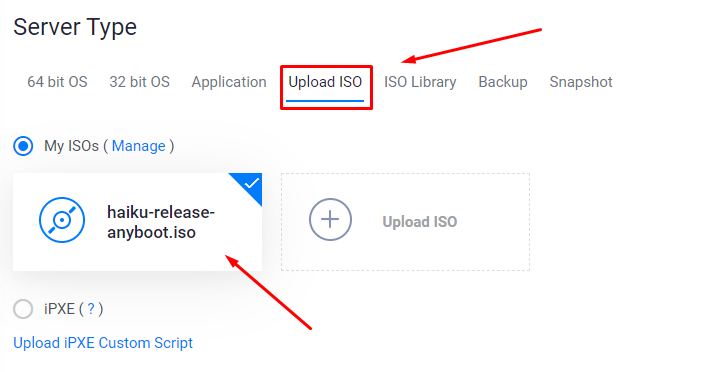
For Server Type, go to “Upload ISO” and select the ISO we just uploaded. Press “Deploy Now”.
There, paste your direct download link. Vultr will then proceed to upload and iso - wait until that is done.
After it says “Available” under the status, create a new instance. Choose cloud compute, and apart from Server Type, you are free to customize it how you wish.
For Server Type, go to “Upload ISO” and select the ISO we just uploaded. Press “Deploy Now”.
Installing Haiku and removing the ISO
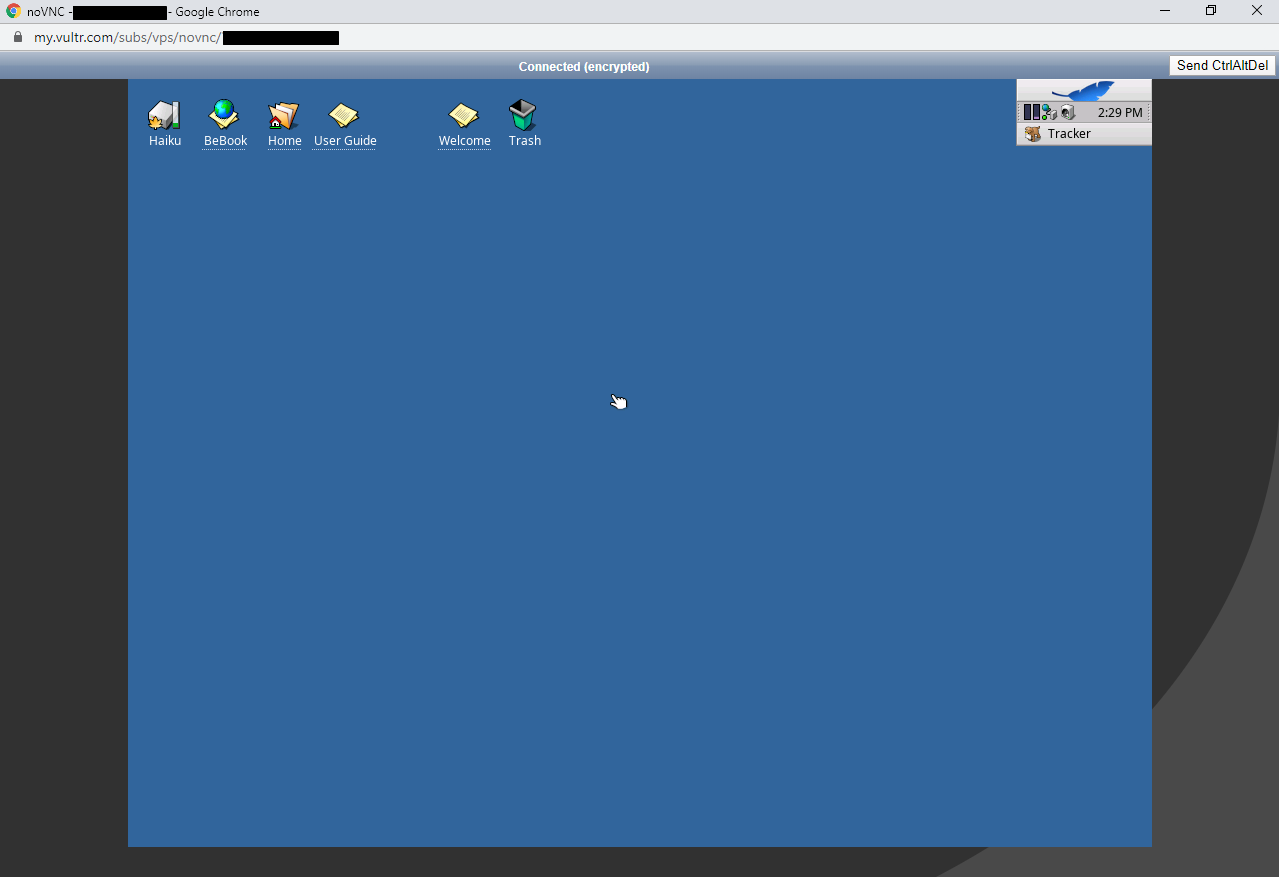
After the server starts (it can take a while), you can go into it’s VNC console by pressing the leftmost icon on the upper left as shown below. You should see Haiku’s installer, and you can install Haiku as you would normally.
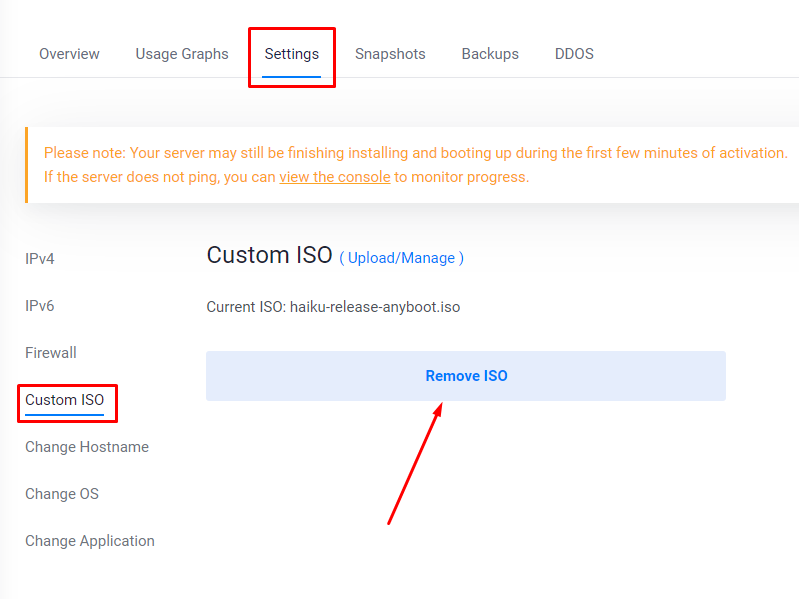
 After you have installed Haiku once, it reboots back into the installer. You need to stop the instance and detach the ISO. Stop the instance by clicking the power icon on the top right, and go to Settings, Custom ISO and press Remove ISO as shown below.
 Now you can restart the instance, and it will boot to desktop.
Congrats, you now have Haiku working on a Vultr instance!