


Emulating Haiku in Xen
Virtual instances of operating systems are perfect for all kinds of testing purposes that need to be done in a safe and isolated environment. Therefore, installing Haiku in a virtual machine is an ideal solution for people who do not want to install it on their physical computers but want to become familiar with it.
The guide was tested on an Ubuntu Linux installation, but it should work on any Linux distribution that supports Xen.
This tutorial uses an Anyboot image for demonstration purposes. The Anyboot image can be obtained here. Make sure to verify the checksums to make sure that your downloaded files are not corrupted.
Go to section
Installing Xen
Ubuntu Linux/Debian
In recent releases of Ubuntu Linux and Debian, you will have to run the following commands:
sudo apt-get update && sudo apt-get upgrade
sudo apt-get xen-hypervisor xen-utils libvirt-daemon-system libvirt-clients virt-manager
However, in older releases (Ubuntu 18.04, Debian Jessie or older), you will need to enter these commands instead:
sudo apt-get update && sudo apt-get upgrade
sudo apt-get install xen-hypervisor xen-utils virt-manager libvirt-bin bridge-utils
Do not forget to enable the libvirtd daemon, as it is not enabled by default:
sudo systemctl enable --now libvirtd
Your machine should now boot into the Xen kernel. If it doesn’t, reboot your machine and access GRUB. make sure to select the Xen kernel in your boot menu. To boot into Xen, select Ubuntu GNU/Linux, with Xen hypervisor.
You can find more Ubuntu Linux-specific information regarding Xen in Ubuntu’s official documentation. It’s worth checking out Debian’s official documentation as well.
Arch Linux
As Xen is not currently available in the official Arch Linux repositories, you will have to use the Arch User Repository (AUR) to install Xen.
Of course, you can use an AUR helper of your choice in order to install the xen package more easily. However, the most universal way of installing Xen in Arch Linux would be the following:
pacman -Syu
git clone https://aur.archlinux.org/xen.git
makepkg -csi
pacman -S bridge-utils
Alternatively, you may want to compile Xen from source or compile a custom Linux kernel.
Moreover, you will have to install either the seabios package and/or the ovmf package, depending on whether you want to boot your virtual machine in BIOS or UEFI mode respectively. It should be added that Haiku does support UEFI booting.
# you're not obligated to run both of these commands!
pacman -S seabios
pacman -S ovmf
Lastly, you will have to enable the libvirtd daemon, as it is not enabled by default:
sudo systemctl enable --now libvirtd
Reboot your machine and make sure to select the Xen kernel in your boot menu. To boot into Xen, choose Arch Linux, with Xen hypervisor.
You may also want to consult Arch Linux’s wiki.
Fedora
If you’re using Fedora, you will need to run the following commands:
yum update
yum install xen virt-manager
Don’t forget to enable the libvirtd daemon, which is not enabled by default:
sudo systemctl enable --now libvirtd
To boot into Xen on Fedora’s boot menu, choose Fedora, with Xen hypervisor. Consulting the Xen wiki’s article on Fedora is generally a good idea.
Installing and running Haiku from an Anyboot image
The following guide will describe the installation of Haiku on Virtual Machine, using an Anyboot image as an ISO. Once Xen is running and the Anyboot image is downloaded, you can start the installation.
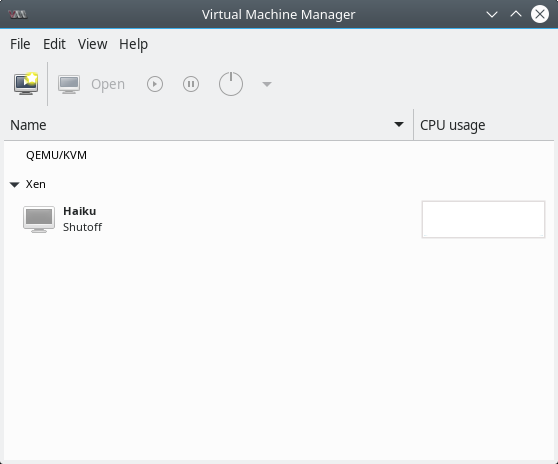
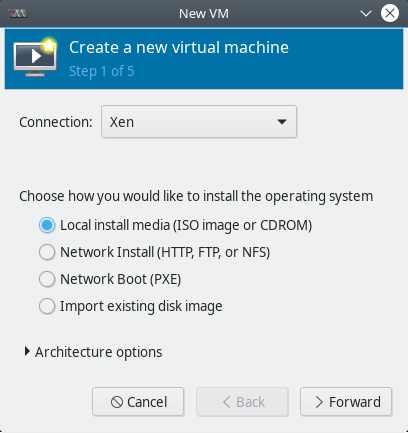
First, create a new virtual machine.
Then, choose the method of OS installation, which is Local install media in this case and click Forward
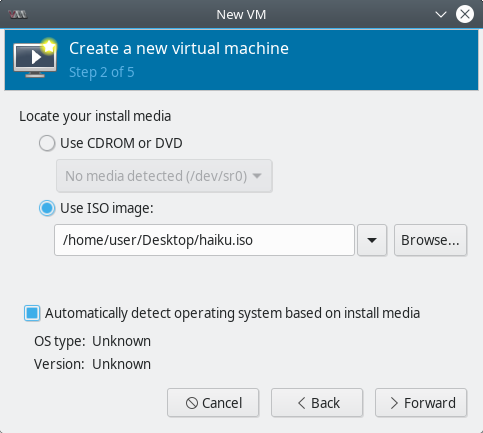
Choose Use ISO image, and browse to the image you downloaded. Then, click Forward
Here is where you adjust the memory and CPU settings. It is best to assign more than 256M of RAM for smoother performance; too little may cause lag. After choosing the memory size and CPU, click Forward

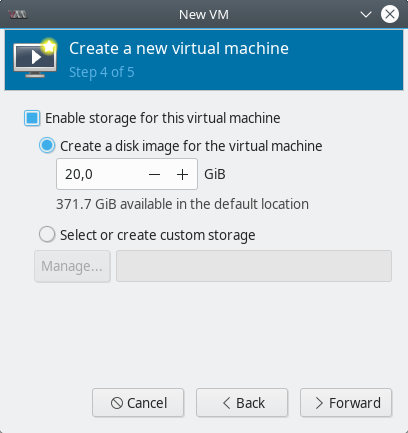
Here, we can adjust the size of the disk image, or existing disk images. After making any necessary changes, click Forward
Name the virtual machine, verify the settings of the virtual machine, then click Finish

After clicking Finish, the virtual machine will boot to the Haiku image. You can choose to install Haiku or boot to the desktop. Follow the guides on this page if you are not familiar with installing Haiku.
Additional steps
Networking
By default, this VM does not have networking. To create a virtual network, you can follow the steps below. If you want to create a bridged network instead, consult your distribution’s documentation.
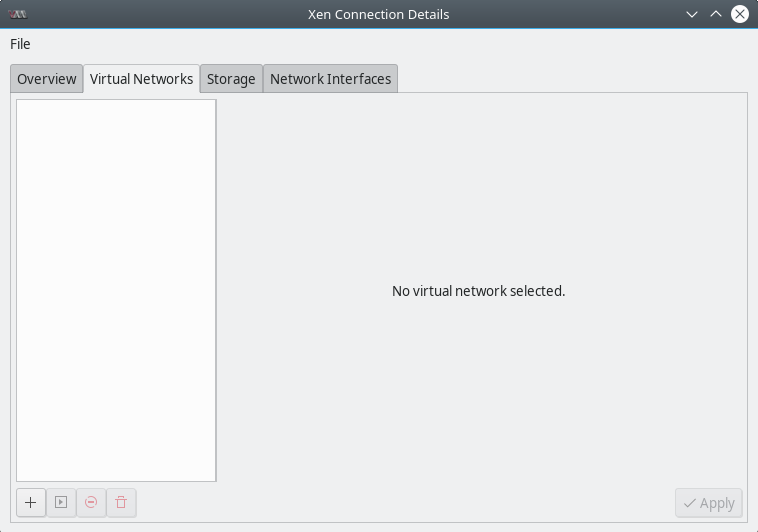
First, on the virt-manager window, choose Edit > Connection Details. The Connection Details window will appear. Click on the Add button in the lower left corner to add a virtual network.
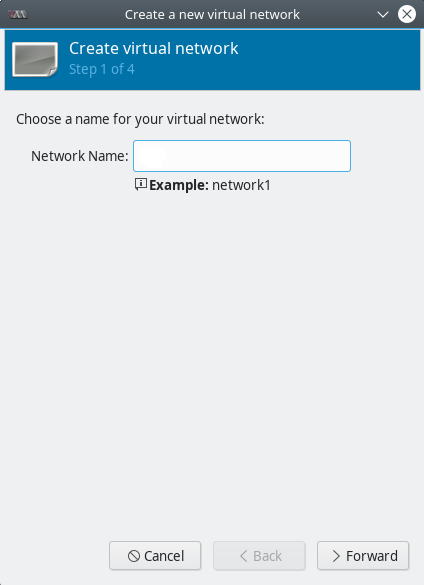
Give your new virtual network a name!
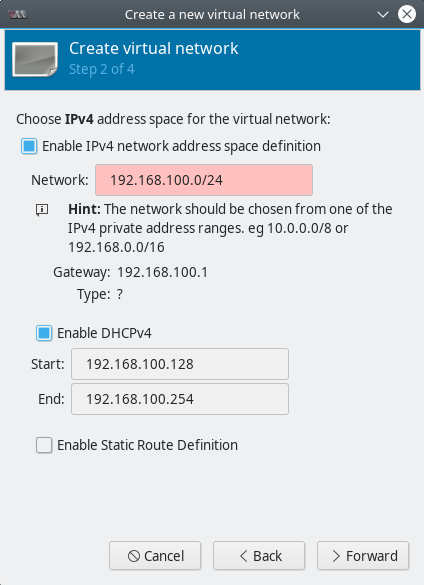
Here, you can customize the network address range. The default settings should be alright, simply click Forward
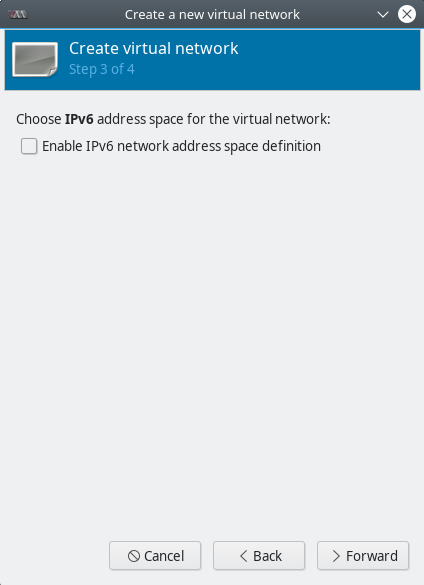
If you want to enable the IPv6 address range, you can customize it here. Otherwise, just click Forward
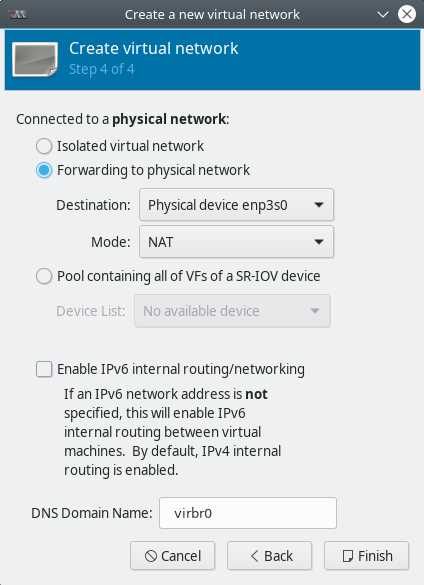
Here, you can forward the network packets of the virtual machine to a physical network, or keep the virtual network isolated. If you need an internet connection on the virtual machine, you should forward to a physical network connected to the internet. When you are done, click Finish
The virtual network should be good to go. Now, close the Connection Details window.
On the virt-manager window, right-click on the Haiku virtual machine and choose Open. Then, click on the button with the light-bulb icon to switch to the VM configuration tab.
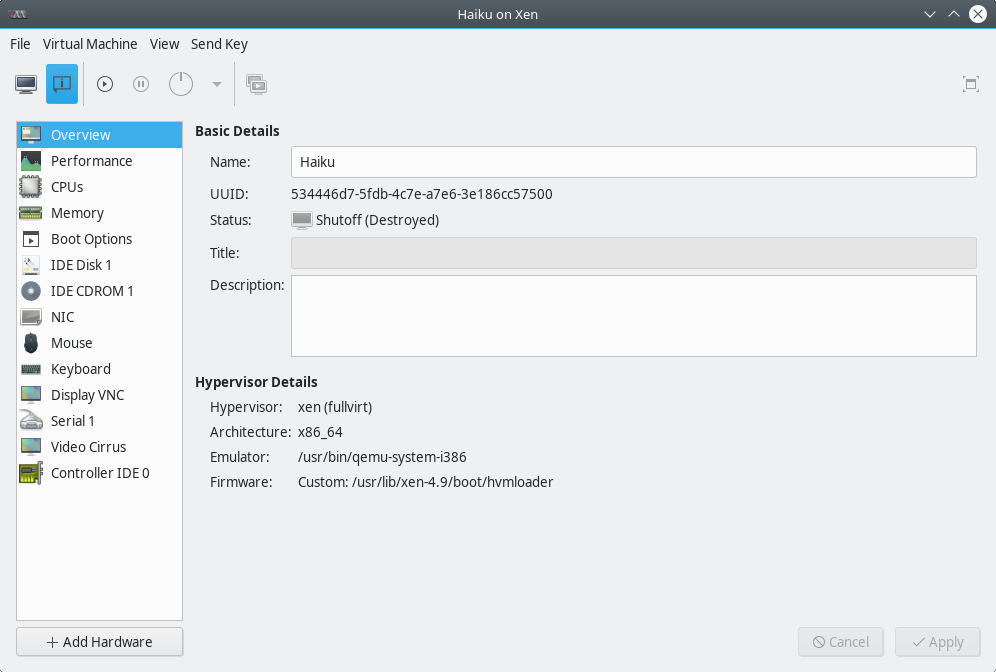
If there’s no NIC hardware in the VM, click the Add Hardware, then choose Network
After that, go to the NIC hardware on the VM, then choose the network source to be the virtual network.
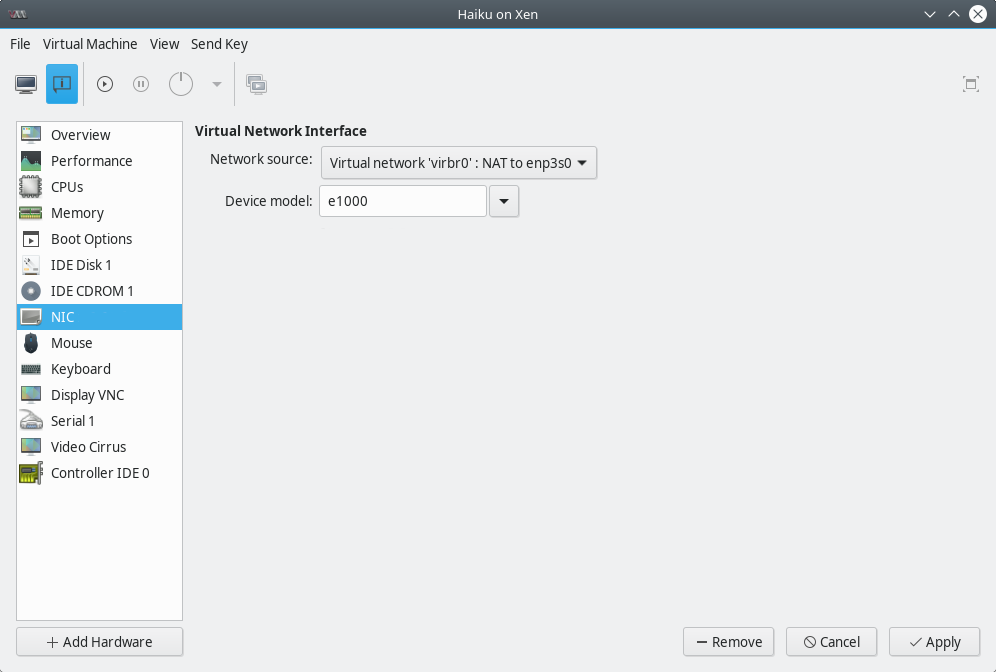
Now the VM should have a network connection.
Troubleshooting
Unable to connect to libvirt.
- Make sure that you are a member of the
libvirtdgroup by runningsudo usermod -a -G libvirtd $(whoami)
Unable to connect to libvirt xen:///.
- Ensure that you are using a Xen host kernel. If you happen to be using GRUB and the kernel does not appear in your GRUB menu as previously described, try running
sudo update-grubin your terminal.