


Emulating Haiku on DigitalOcean
DigitalOcean is one of the most popular KVM Cloud providers that allow the end user to upload raw disk images. As they don’t allow booting from ISO, we will need to use VirtualBox or other virtualization software for installing Haiku. This guide assumes that you already have a DigitalOcean account, you’re at least partly familiar with the interface and that you have already installed Haiku in a VM. You will need to obtain a disk image (*.vdi for VirtualBox, *.vmdk for VMware, etc), it should reside inside the VM directory. If you don’t have Haiku set up that way just yet, check out the Virtualizing Haiku in VirtualBox guide. Remember that the hard disk size shouldn’t exceed the disk size of your droplet!
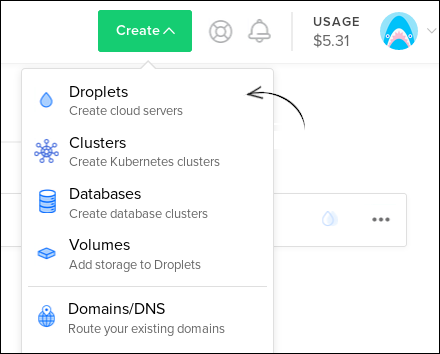
After logging into your DigitalOcean dashboard, click on Create and select Droplets.
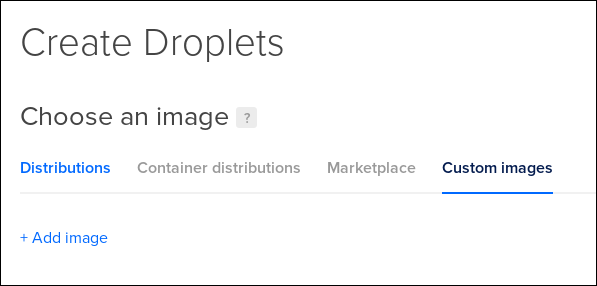
Then, click on Custom images and upload your own image.
Remember: Don’t close the page until the upload process finishes! The image may be over a few gigabytes in size, so you’ll need to be patient.

After a successful upload, choose the image for your new droplet. Then choose the billing plan and configure the droplet to your liking. As the Operating System, choose Unknown. The server region should be the closest one to you to assure the lowest latency.

Select the droplet from the list, click on Remote and launch the Remote Console.
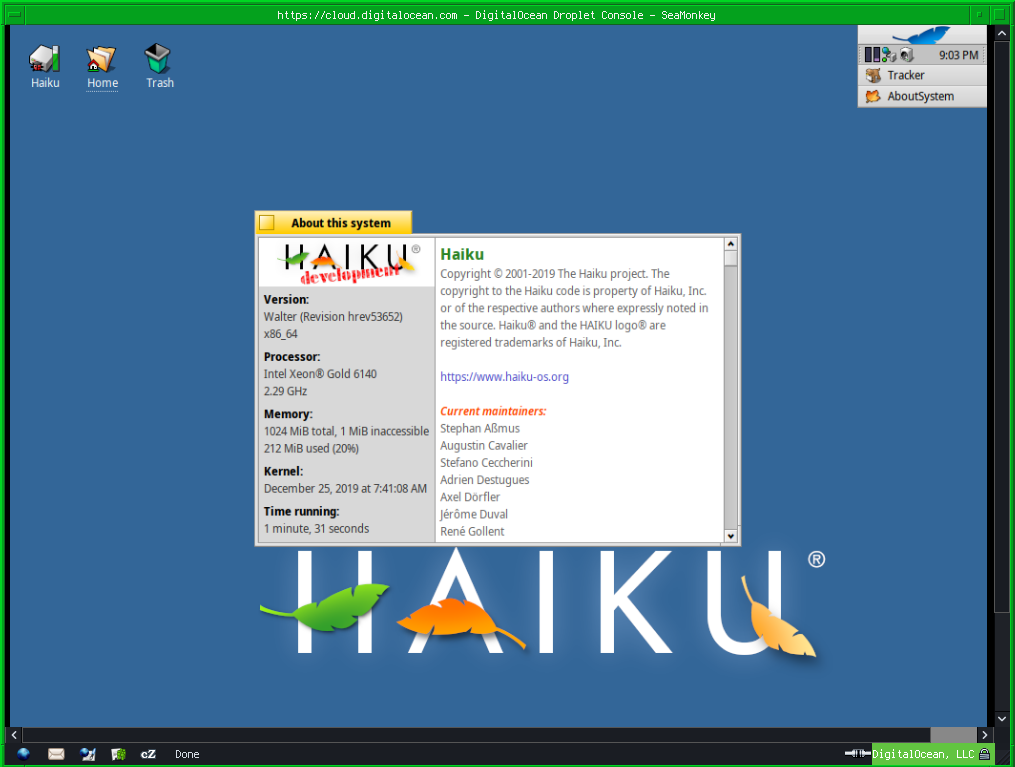
Congratulations, you have created a Haiku-based DigitalOcean droplet! The most logical thing now would be to enable SSH and/or install a VNC server from HaikuDepot and further configure your new virtual machine.