


Emulating Haiku in VMware Fusion
For Google Code-In 2019, Thinker Pal created a video on how to install Haiku in VMware Fusion [24 MiB].
Start by downloading a Haiku ISO image, do select the closest mirror to enjoy higher transfer rates. Verify using the checksums to make sure that the downloaded files are not corrupted as they are big files. VMware Fusion is available for free.
Go to section:
Installing and running Haiku from an ISO image
This method is pretty much similar to installing on an actual machine.
Step 1. Downloading Haiku
After downloading the ISO image, unzip the file and in the folder, you will see an .ISO file. Under Virtual Machine Library, which you can use the shortcut Shift+cmd+L, click Add and then New.
Step 2. Creating a virtual machine
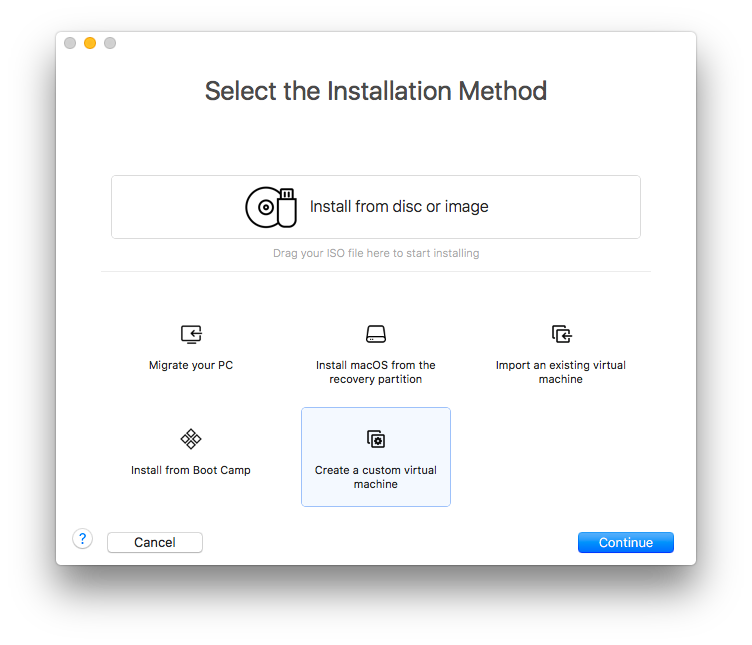
At the Installation method screen, choose Create a new custom virtual machine.
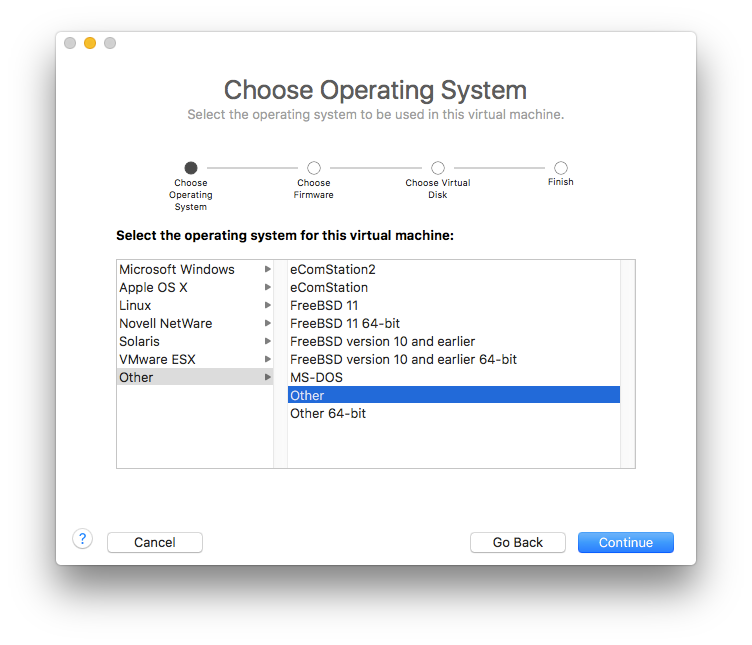
On the operating system type screen, select Other. For version, do take note to make sure that Other is selected. Do not select Other 64-bit. After selecting, click Continue.
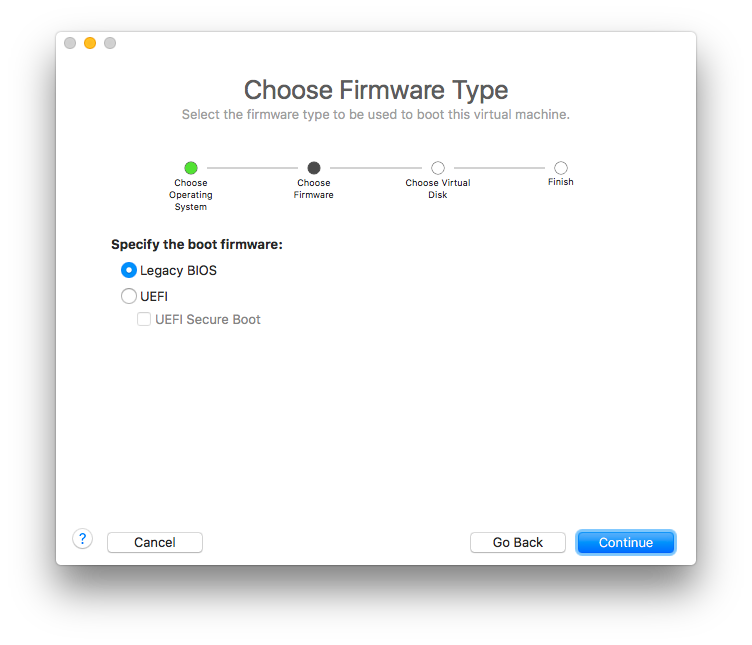
Choose Legacy BIOS as the boot firmware.
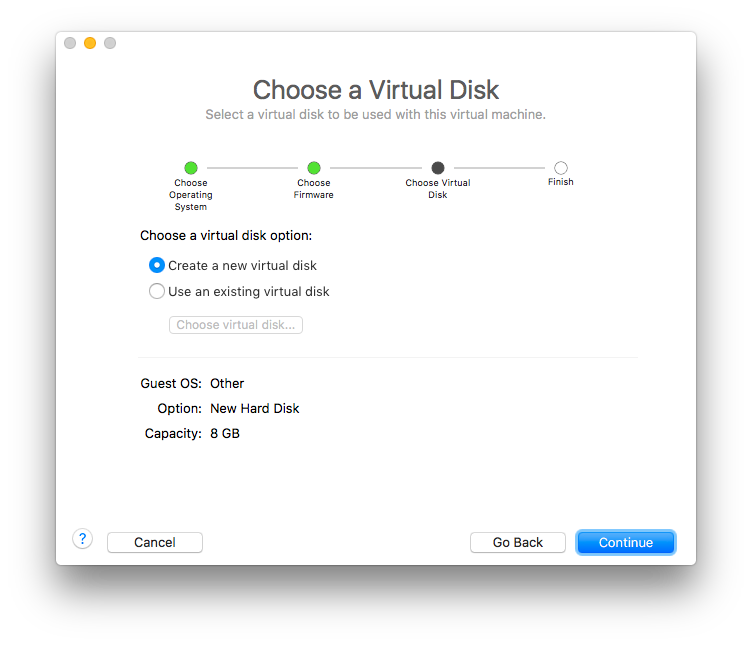
Then, you can choose to use an existing virtual disk or create a new one. The default values should be enough to install Haiku. Click Continue.
Verify the settings of the virtual machine. We now need to attach the Haiku ISO to the virtual machine. Click Customize Settings.
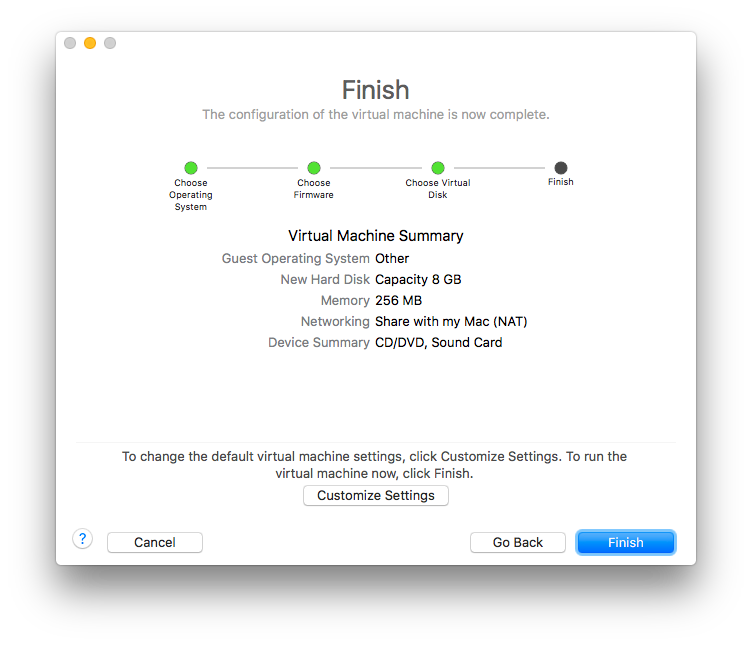
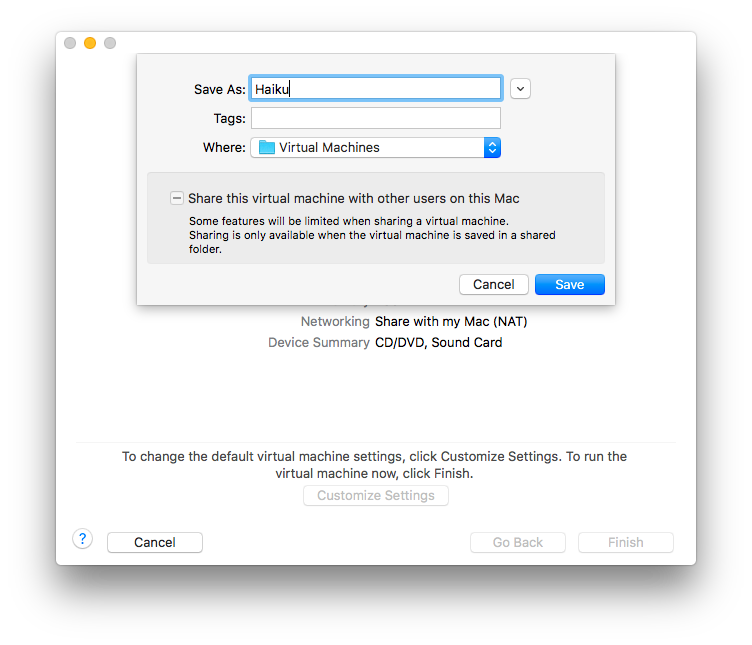
We will be asked to save the virtual machine first. Name the virtual machine, and choose the location, then click Save.
Step 3. Configuring the Virtual Machine
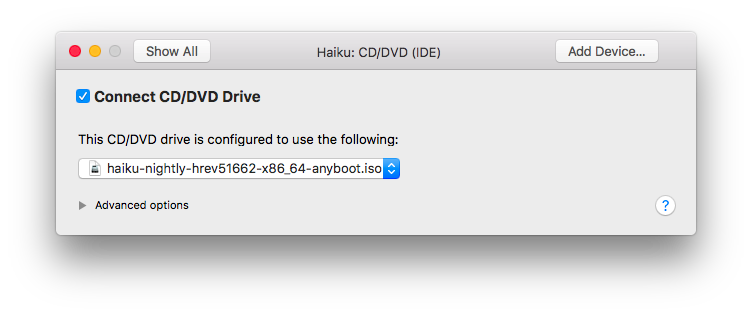
The Settings window will now appear. Choose the CD/DVD (IDE) item.

Choose Use ISO image file, then browse for the Haiku ISO we downloaded.
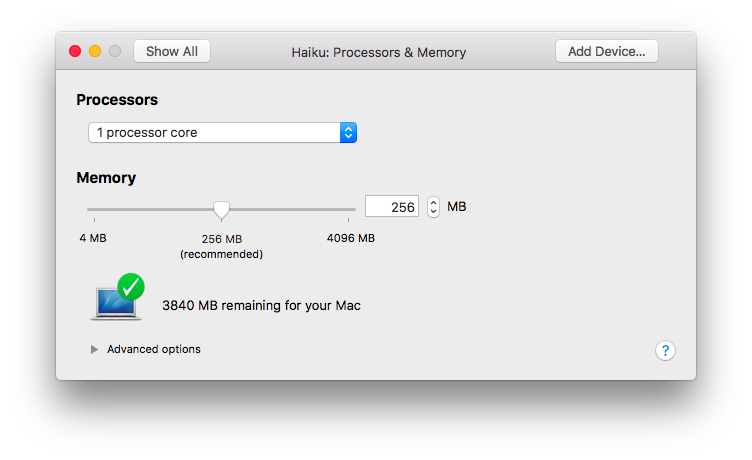
To adjust the amount of memory the virtual machine uses, we go back to the main settings window by clicking Show All. Then, click on the Processor & Memory panel.
Adjust the memory amount as needed, by moving the slider to the right or typing in the new amount. Note that too much memory assigned to the virtual machine can slow down the host system.
Step 4. Starting the Virtual Machine
Save the settings and power on the virtual machine. Once Haiku has booted, you can choose whether to run as a Live-CD (which does not have any persistency through reboots) or continue with the installation.
Step 5. Initialising partition
Don’t worry if you see the warning saying Haiku can’t find any partitions to boot from. Click OK and we will setup the necessary partitions needed to install Haiku. Click Set up partitions. Before clicking on the device with the hard disk icon. Then choose Disk > Initialize > Intel Partition Map…
Step 6. Selecting partition
Select the new space and choose Partition > Create.
Step 7. Formatting the new partition
Format the newly created partition(s) by selecting the partition and choose Partition > Format > Be File System…. Accept the defaults and you should see something like the previous screen.
Step 8. Selecting your new partition
Close the dialog box and select the partition you just created. Ensure that the partition is correct.
Step 9. Installing Haiku
Begin the installation! Reboot once you are done, you should be able to see the Haiku desktop after you reboot. If you are stuck at the installation screen after reboot, disconnect the ISO from the virtual disk drive and try again.
Step 10. You are now finished
You have successfully installed Haiku! Have fun and refer to the Haiku User Guide if you encounter any problems.
Additional Steps
Additional step 1. Installing the VMWare Addons
Haiku provides a vmware_addons package that allows clipboard sharing between Haiku and the macOS host, mouse sharing (so that the mouse can seamlessly enter and quit the VM window), and disk compacting (reducing the sizes of auto-expanding virtual disks). Install it with the HaikuDepot application from the Deskbar’s Applications menu.
Troubleshooting
Increasing the virtual disk size without reinstalling
VMWare Fusion allows expanding a virtual hard disk to be bigger, but take note that there is no way to reduce the size of your virtual hard disk once it starts to occupy space.
First, shut down the virtual machine if not already by clicking on the Virtual Machine menu > Shut Down.
Then, on the virtual machine window, click on the Virtual Machine menu > Settings. The Settings window will appear.
After that, choose the Hard Disk (IDE) item.
To expand the hard disk, move the slider to the right, or type in the new size. Then, click Apply
