


Virtualizing Haiku in VMware Workstation
For Google Code-In 2019, Zotyamester created a video on how to install Haiku in VMware Workstation [59 MiB].
Virtual instances of operating systems are perfect for all kinds of testing purposes that need to be done in a safe and isolated environment. Installing Haiku in a virtual machine is a solution for people who do not want to install it on their physical computers, but wish to become familiar with it.
This How-To guide will describe the process of running Haiku on virtual machine (VM) using VMWare Workstation 14 and an Anyboot image file.
The Anyboot image file can be obtained here. VMWare Player is available from VMWare for free on their website. There is also VMware Workstation, which is similar but has more features and is commercial. This means you have to pay for this version, but it does offer a 30 days trial. However you could just stick to the free one (VMware Player) as you most likely will not need the extra features. You can both read about the commercial version’s extra features and download it from its website here
Go to section
Installing and running haiku from an Anyboot image
The following guide will describe installation of Haiku with an Anyboot image on VMWare.
Step 1. Creating a virtual machine
After downloading the Anyboot image and installing VMWare Workstation, we can begin the installation process.
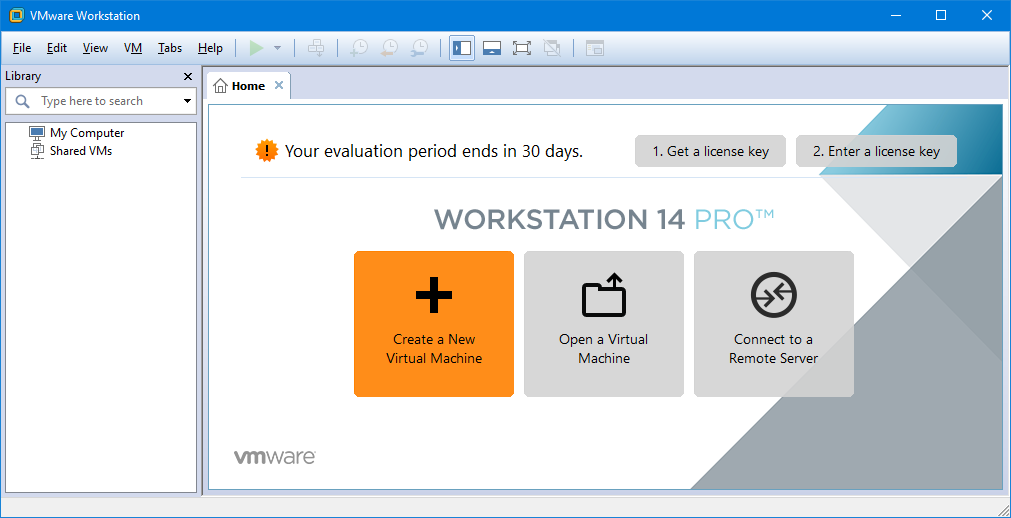
Open VMWare Workstation. On the Home tab, click Create a virtual machine.
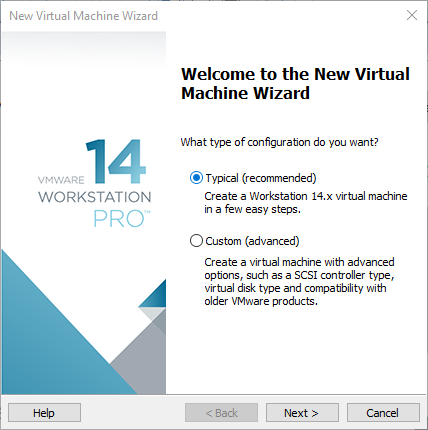
The New Virtual Machine Wizard will appear. Select Typical, then click Next.
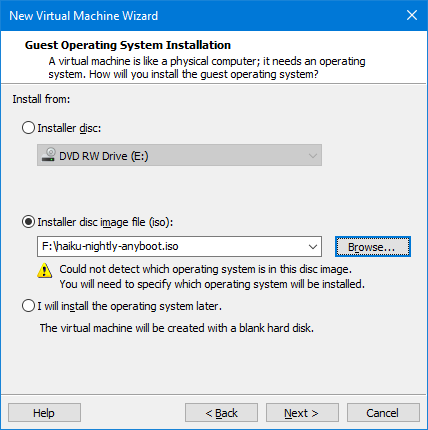
Select Installer disc image file (.iso), and browse for the Anyboot image we have downloaded. VMWare will then complain that it could not detect which operating system is in the disc image. Click Next again.
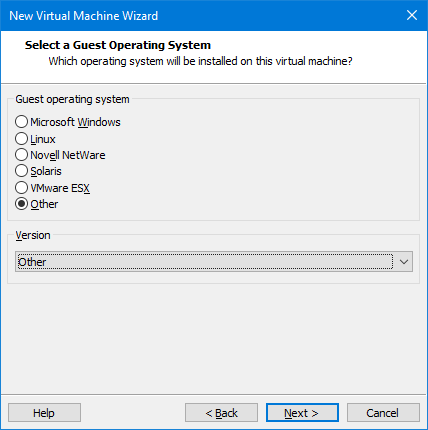
Select the Other operating system, and Other version, then click Next.
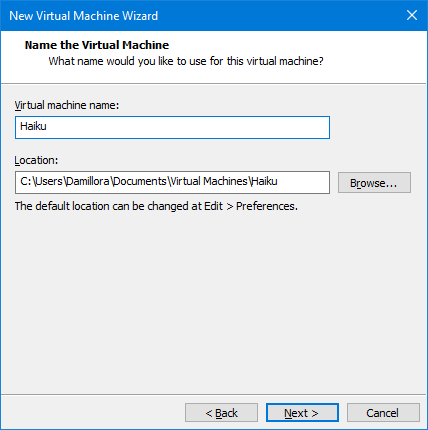
Give a name to the virtual machine, and choose the location where the virtual machine will be stored. Then, click Next again.
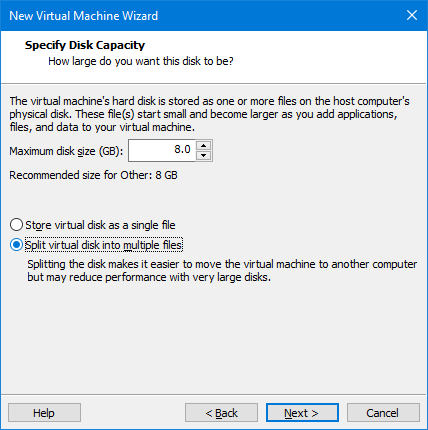
Specify the hard disk size of virtual machine. Some will need to allocate more than the default size. This can be expanded later. We can also split the virtual hard disk image, to make transporting to another machine easier, but note that it may slow down performance on large virtual disks. When done adjusting the disk size and splitting, click Next.
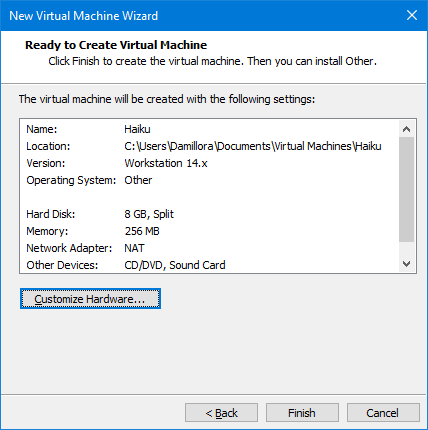
Verify the details of the new virtual machine, then click Finish to create the virtual machine.
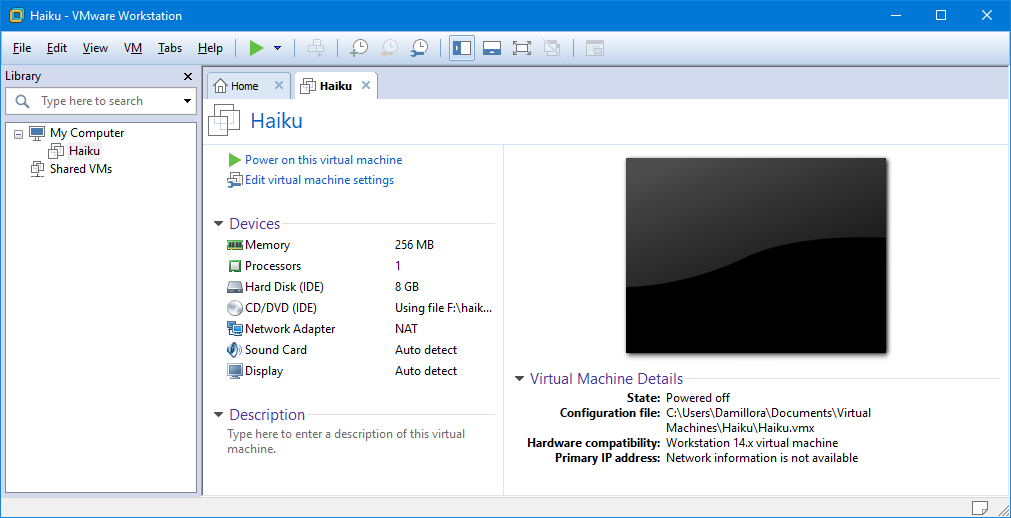
Now the virtual machine is created and we are ready to install Haiku to the virtual machine.
Step 2. Installing Haiku
Before we install Haiku to the virtual machine, we first need to start it by clicking on Power on this virtual machine option.
The virtual machine will automatically boot the Anyboot image we chose as the installer disc image.
The installation itself is quite simple and does not differ really from a physical one (follow the guides on this page if you are not familiar with installing Haiku).
We run the installer by clicking Run installer inside the virtual machine, and proceed with the installation like we are installing on a physical machine.
The Installer will say that there are no partitions, as the hard disk is still empty. Click on Set up partitions... to bring up DriveSetup. DriveSetup should detect two devices, one is CD-ROM which contains the Haiku image, and a hard disk which is our virtual machine’s virtual hard disk. All we need to do is select the hard disk, go to Partitions -> Format, click on Be File System and continue the initialization. When done setting up the disk, close DriveSetup.
Then we can proceed to installing Haiku. Select the virtual hard disk as the destination, then click on Install. Wait until the installation is complete, and then click Restart to restart to our new Haiku installation.
Additional steps
Additional step 1. Installing the VMWare Addons
Haiku provides a vmware_addons package that allows clipboard sharing between Haiku and the host OS, mouse sharing (so that the mouse can seamlessly enter and quit the VM window), and disk compacting (reducing the sizes of auto-expanding virtual disks). Install it with the HaikuDepot application from the Deskbar’s Applications menu.
Troubleshooting
Adding more RAM to the virtual machine
When we need to increase the memory allocated to the virtual machine, we can increase it from the virtual machine settings.
On the virtual machine tab, when the VM is powered off, click on Edit virtual machine settings. The Virtual Machine Settings window will then appear.
Navigate to Hardware > Memory. We can than increase the memory allocated by dragging the slider to the top. Note that allocating more than the maximum recommended memory may cause the host to memory swap.
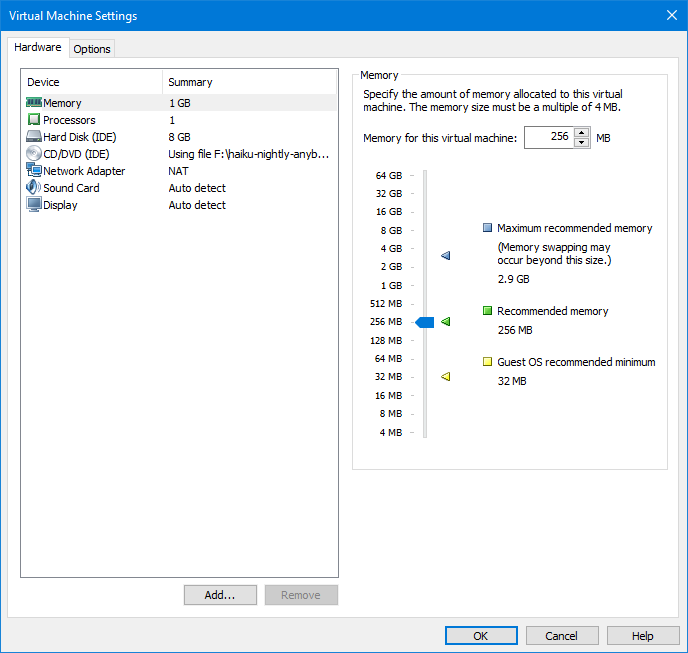
Click OK to close the settings window.
Increasing the virtual disk size without reinstalling
VMWare allows expanding a virtual hard disk to be bigger, but take note that there is no way to reduce the size of your virtual hard disk once it starts to occupy space.
On the virtual machine tab, when the VM is powered off, click on Edit virtual machine settings. The Virtual Machine Settings window will then appear.
Navigate to Hardware > Hard Disk, then on the right pane click Expand
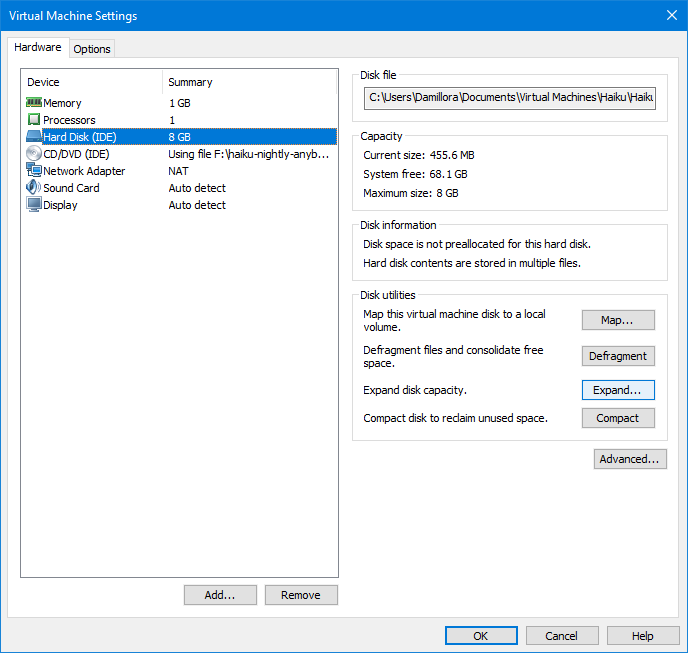
Specify the amount of the expanded hard disk image, then click Expand

Click OK to close the settings window.
Then, resize the Haiku partition inside the virtual machine using the Haiku ISO or GParted.